Blender
TODO - Quick Start Setup for Blender Here:
The overall process of setting up Blender with ButterflyNetRender is very straight forward:
Contents
Install:
(Windows):
- 1. Install Blender locally on all the Windows Rendernode machines (in the same location on all machines)
- 2. Set the Install paths in the BNR Controller (Next step)
Configure:
Configure paths and setttings in BNR Controller:
In the BNR Controller:
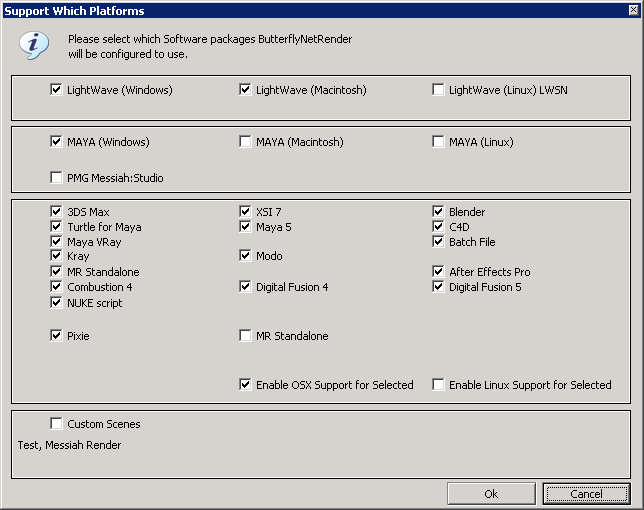
- 1. Turn on the 'Blender' platform: (Options->Configure Platforms)
- 2. Set the location for the blender executable (the local path on each Rendernode) (Options->Configure Platforms - Blender)
Restart:
Restart the BNR Controller.
Add:
Now add blender scene file for rendering:
After you add the Blender scene - you will need to:
- 1. Select the Frame range (Output Tab)
Make sure you add the scene from the Shared Network folder (that all the rendernodes have access to - otherwise the rendernodes will not be able to load the scene)
Test:
The best way to test a new Blender setup:
- 1. Make sure Blender is installed on the controller (in the same location as the RenderNodes)
- 2. Add a blender scene into BNR
- 3. Select the 'Render' Tab
- 4. Press the 'Test Render Command" and then press 'Launch Locally'
This will run the same command the Rendernodes will run - but you will get to see more information directly
- If all works -Then you will need to check the log file from the command line -log filename.log
-Or -
- Right click on the Scene and a select "Open Scene Trace Log folder" and you should find the ae output text "Render_*.txt" - Please open with notepad to view the text.
(note if you see *.csv files - these are BNR Controller state flows)
